DIY Furniture
How to Make a Surfboard Headboard
As my guest room redesign was nearing completion, I thought I had found all the perfect everythings–lights, bedding, pillows, art, etc. But as I was putting it all together, I […]
 Just Might DIY
We like to make stuff together.

As my guest room redesign was nearing completion, I thought I had found all the perfect everythings–lights, bedding, pillows, art, etc. But as I was putting it all together, I […]
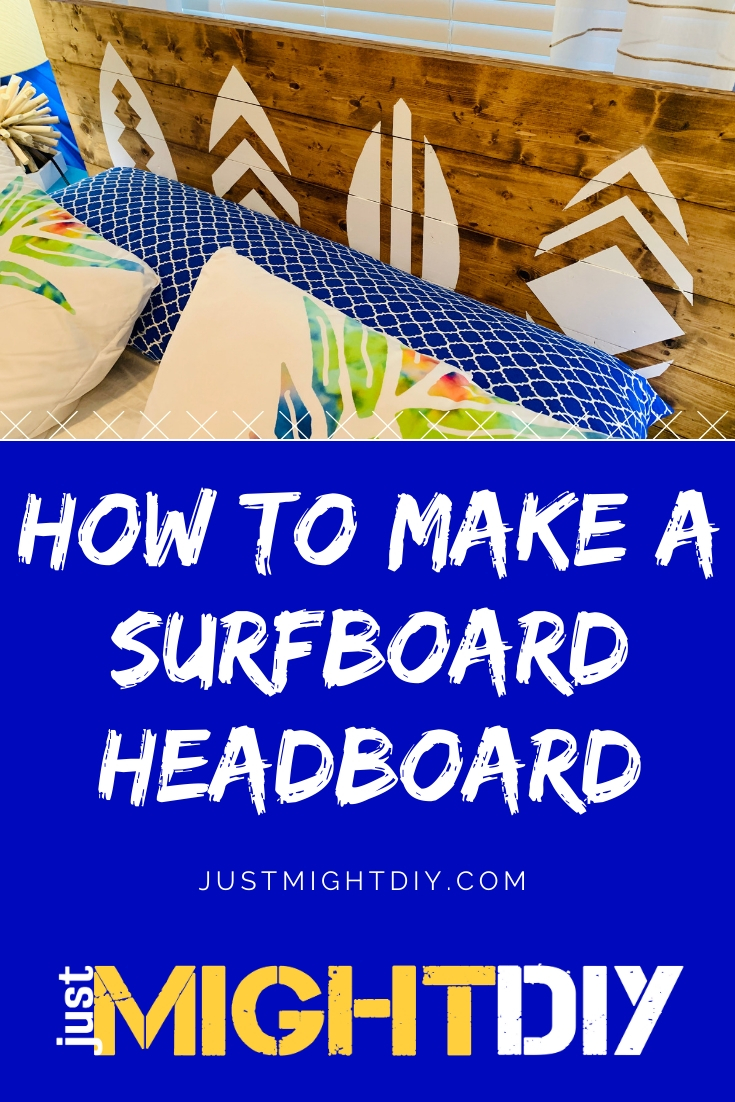
As my guest room redesign was nearing completion, I thought I had found all the perfect everythings–lights, bedding, pillows, art, etc. But as I was putting it all together, I felt in my bones that something was missing. It wasn’t until I jolted awake one morning a few days later that I realized: I needed a wooden headboard.
I hadn’t planned any kind of a headboard. The bed was going to be placed in front of a window, and I didn’t want to block the natural light too much. But in that bleary eyed moment, I knew that what was needed the most in this beautiful bold room was more natural materials to balance everything out, and a wooden headboard would do the trick.
The only potential problem was that I had never made a headboard before. Heck, I had never really DIYed with wood at all. But nothing was stopping me.
After googling for a few minutes to get some inspiration, I came up with a design that would be perfect. I drew it out on a piece of paper, measured the width of the bed frame, and then it was off to Home Depot to pick up some wood.
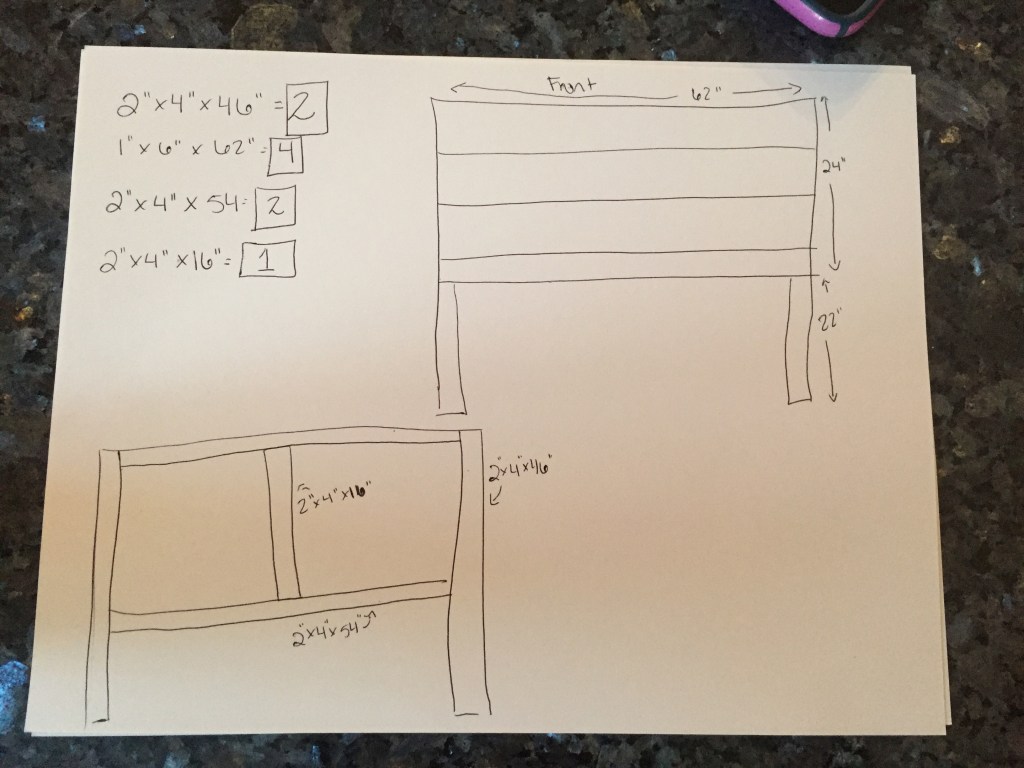
I didn’t own a single saw at that point, which I was afraid would be an impediment, but I quickly discovered that Home Depot will make some wood cuts for you right there in the store. Drawing and measurements in hand, I headed for the lumber aisle, grabbed some 1×4’s for the frame (originally thought I would do 2x4s, per the drawing) and 1×6’s for the front panels and headed toward their saw to get some help.
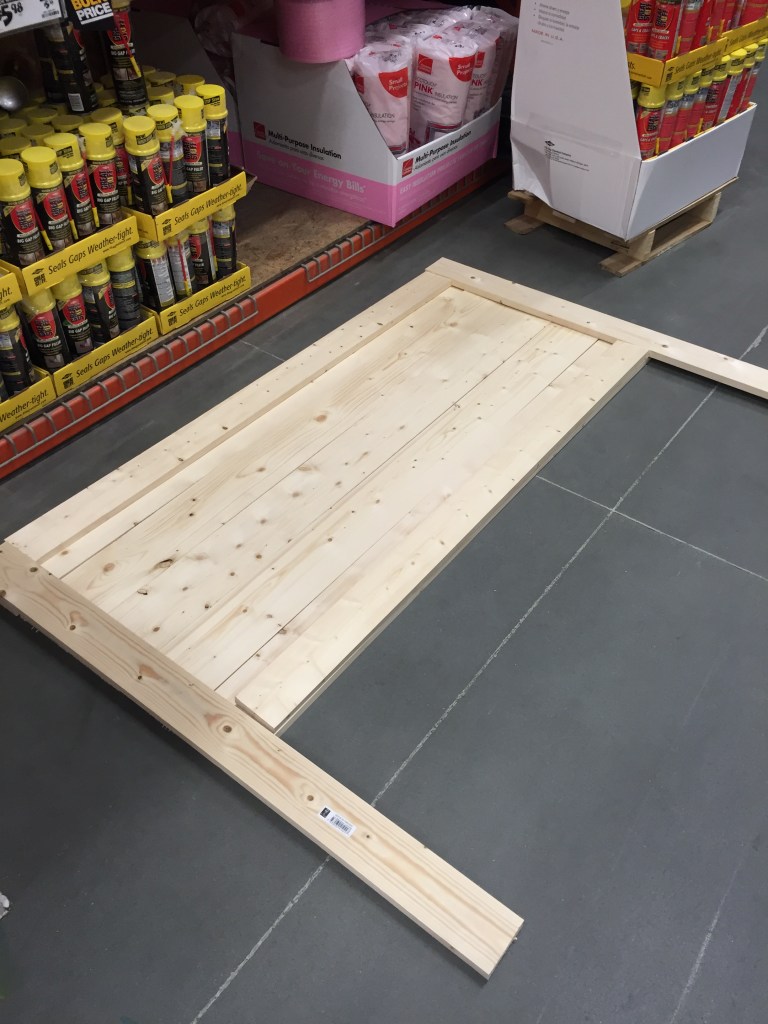
With absolutely no shame, I laid the whole thing out right there in the aisle of the store and measured everything again as a unit to be sure I had what I needed. Then, it was off to my garage to put it all together.
Assembling the headboard was SUPER simple–it only took two nights in total. Here are the materials used and steps I followed:
(all Amazon affiliate links below)
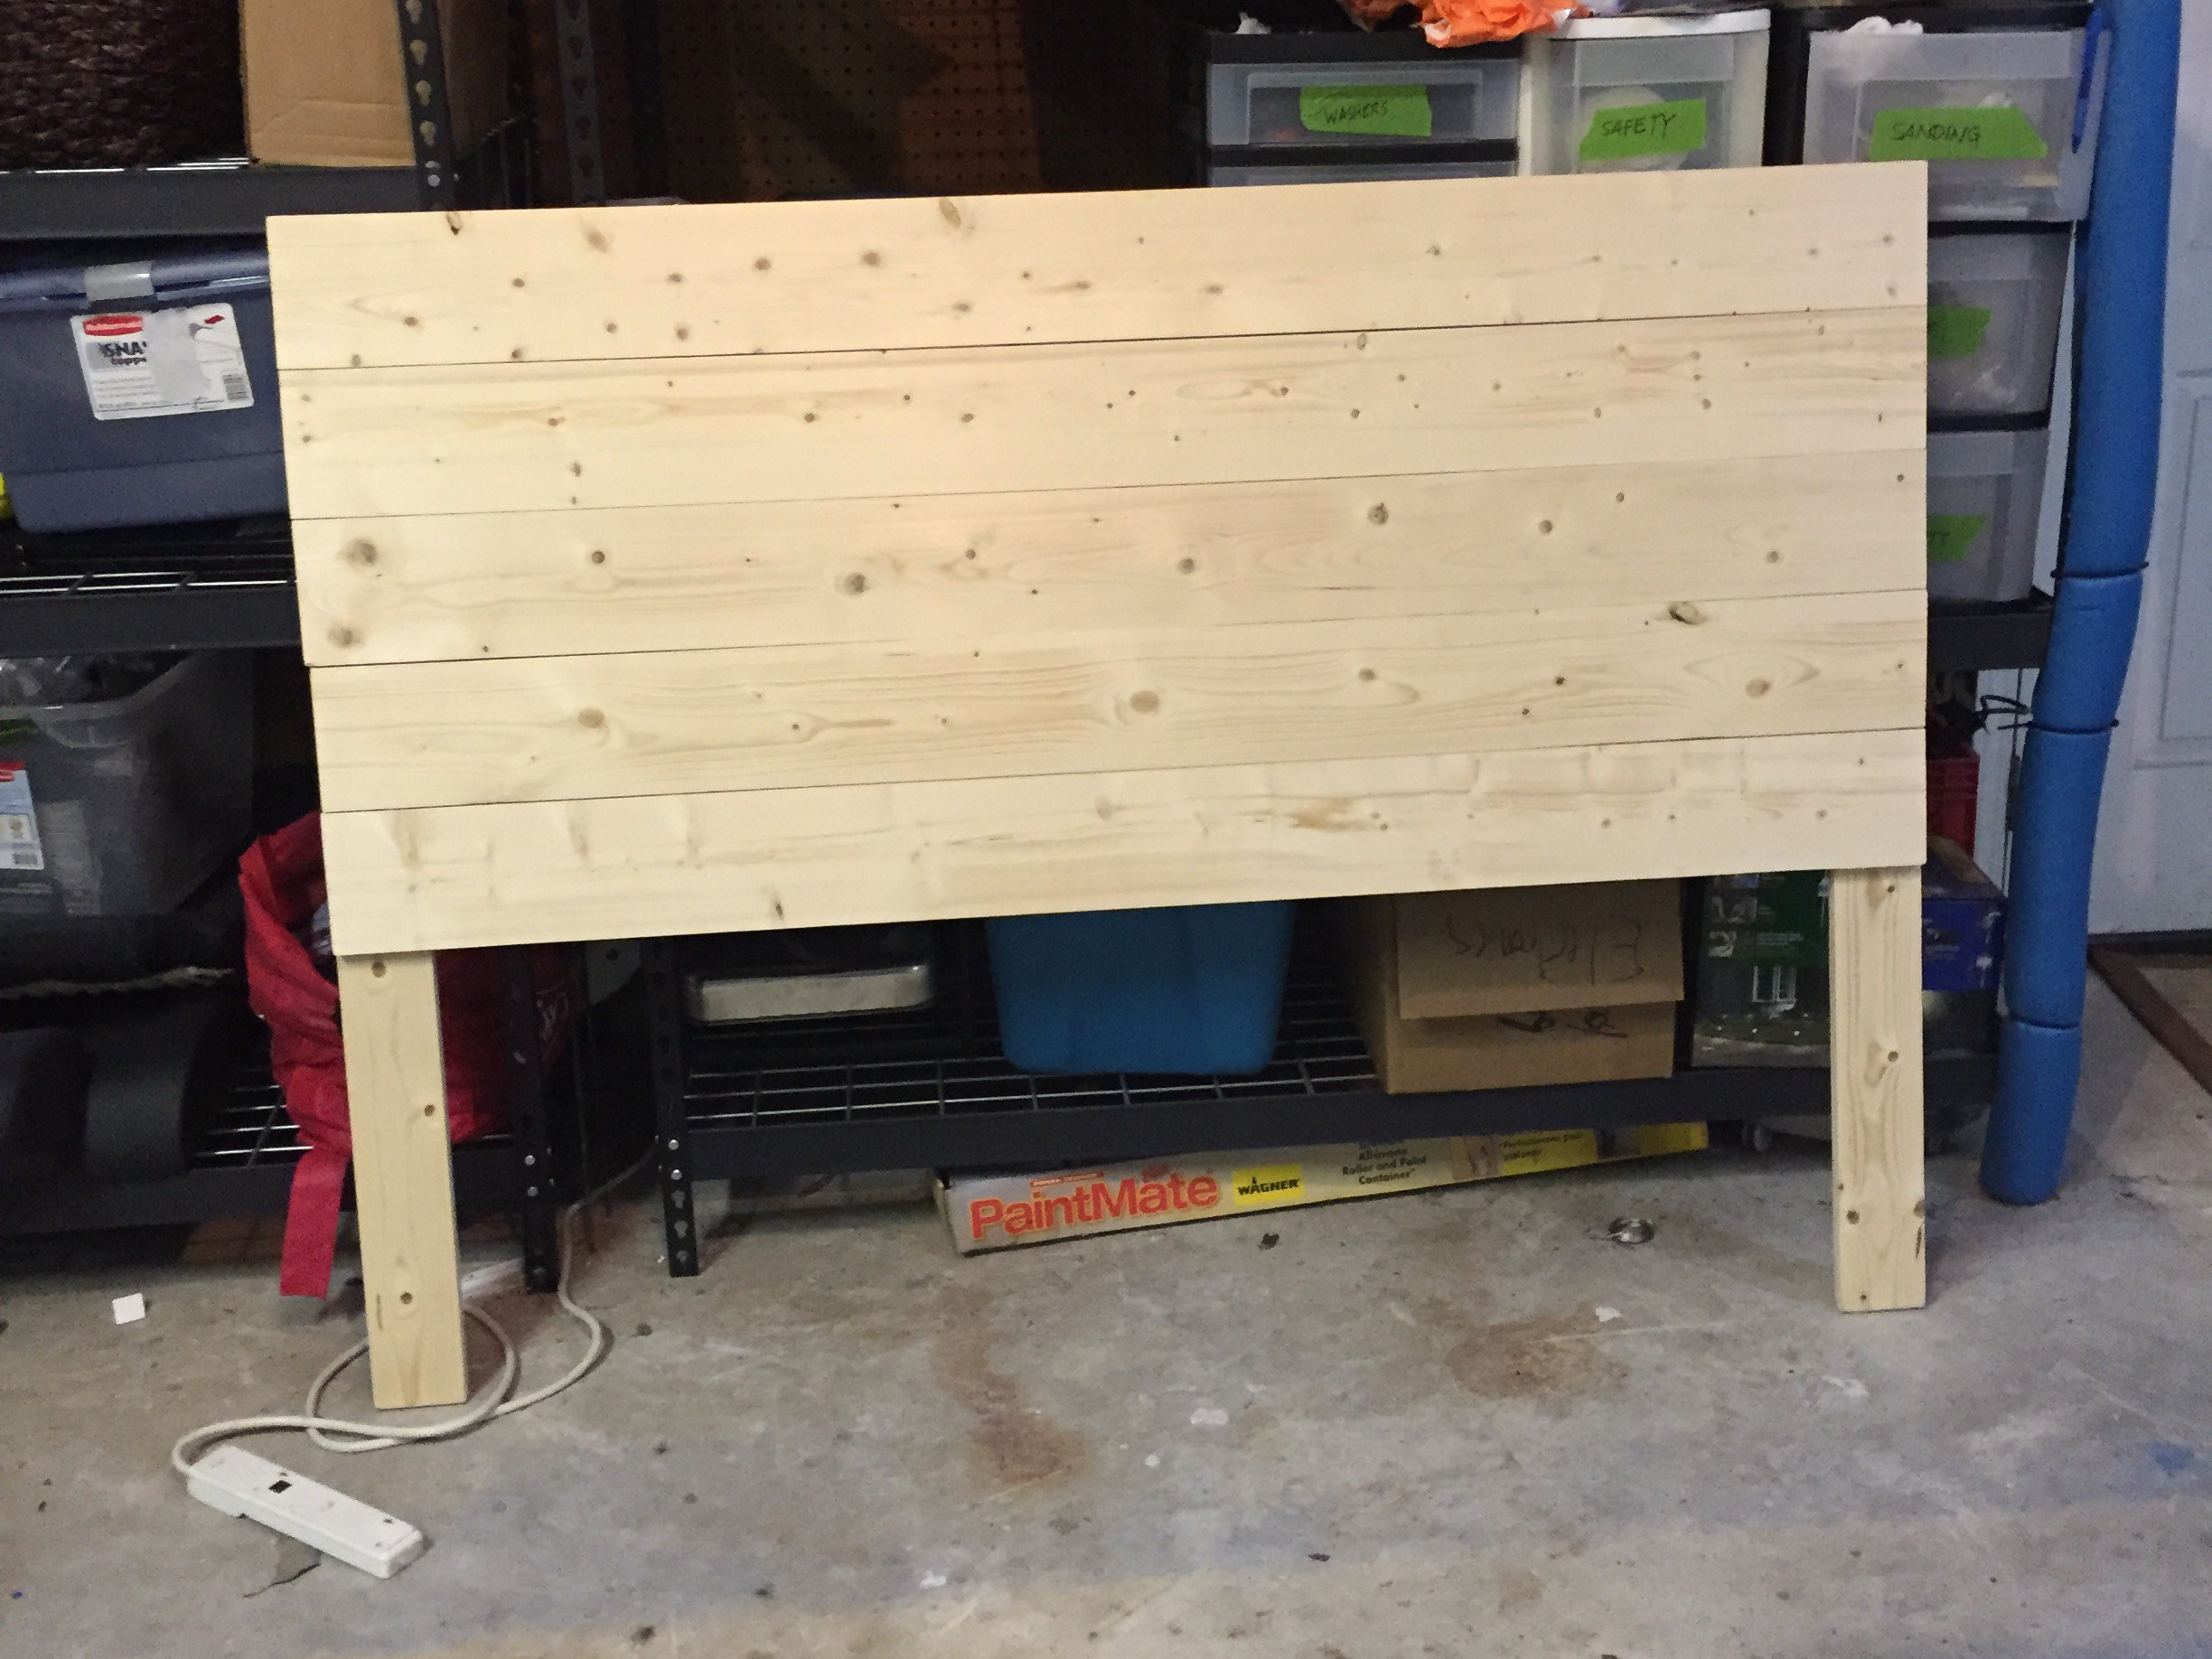
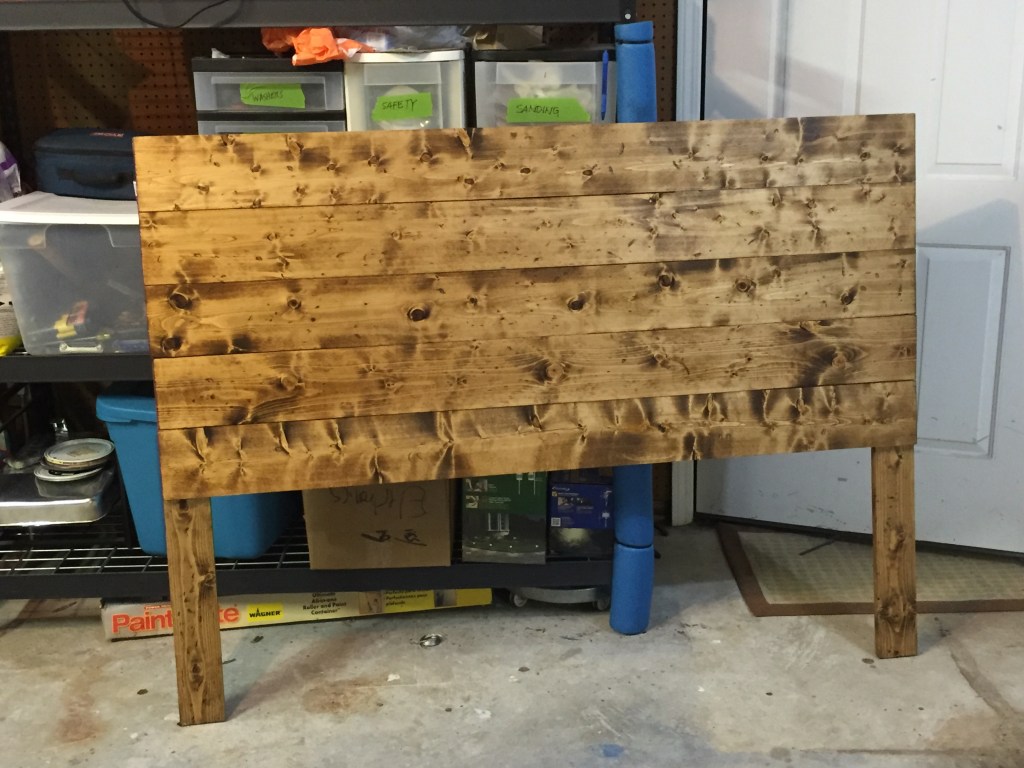
Lay out the frame on the floor.

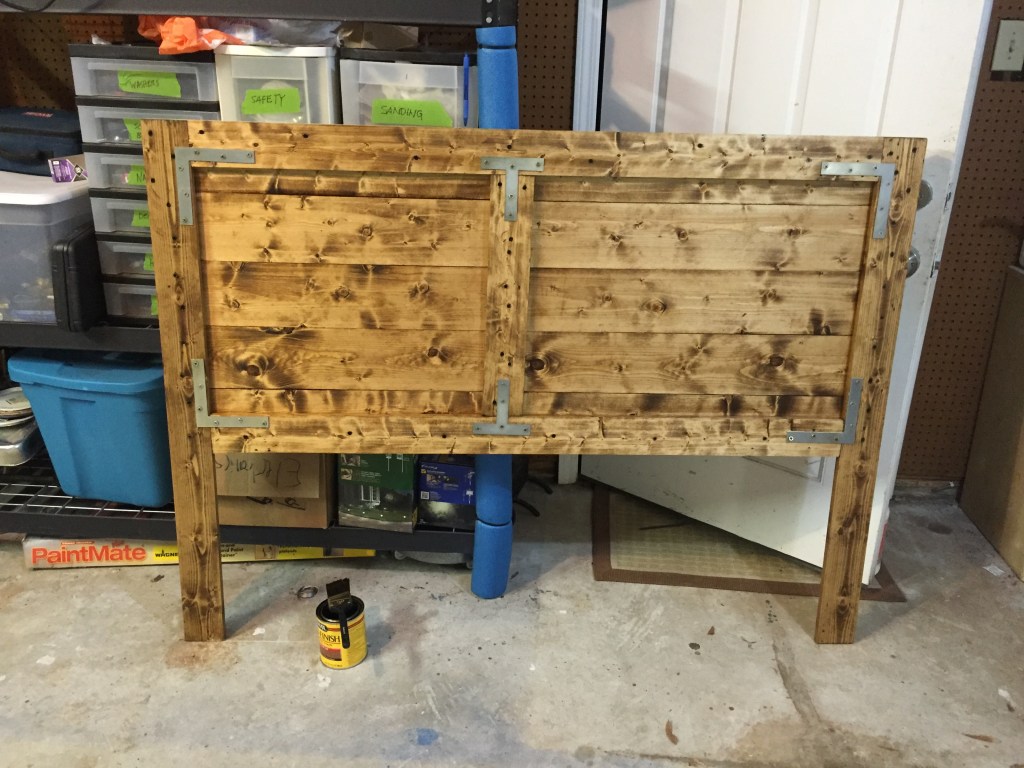
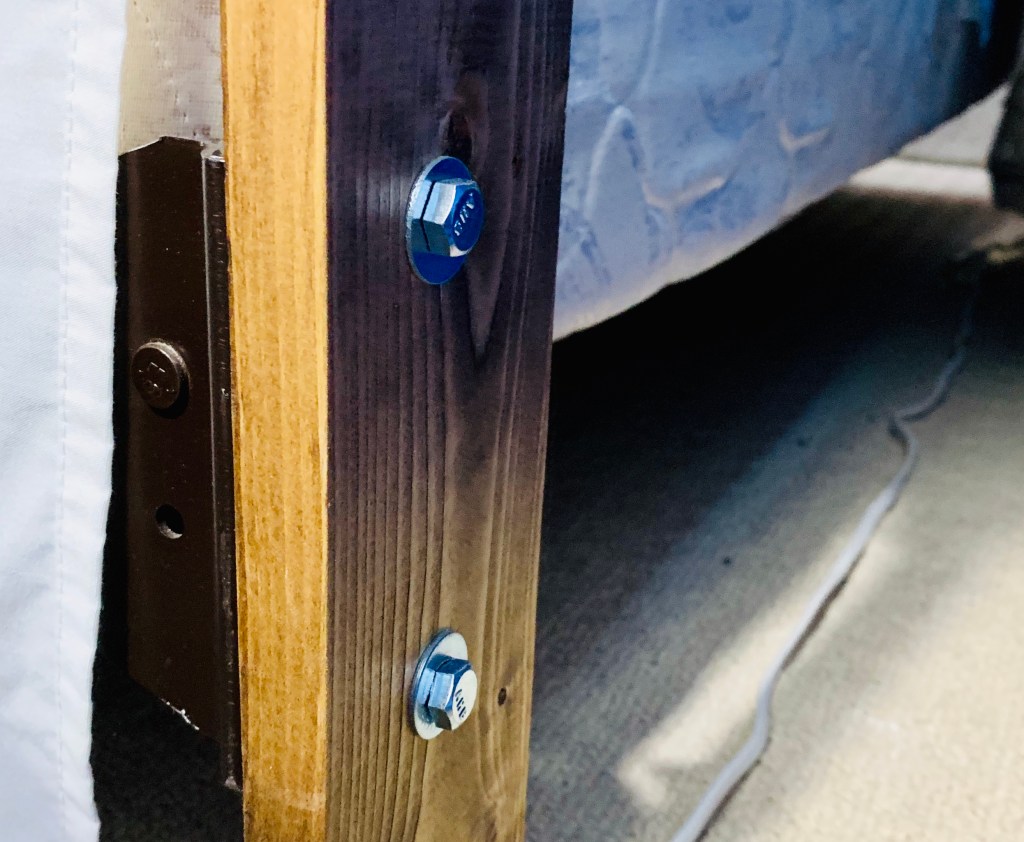
Use corner braces on the four corners and T brackets on the middle support bar. Attach brackets using a cordless drill and wood screws (Hardware shows up better on the stained wood, so I took the pic below to show placement):
Flip the frame over, and attach the panels using wood screws and a cordless drill, starting at the top and working your way down.
Stain wood using your choice of stain. If you want a distressed look, hit the board with a hammer and heavy chain or other hard objects.
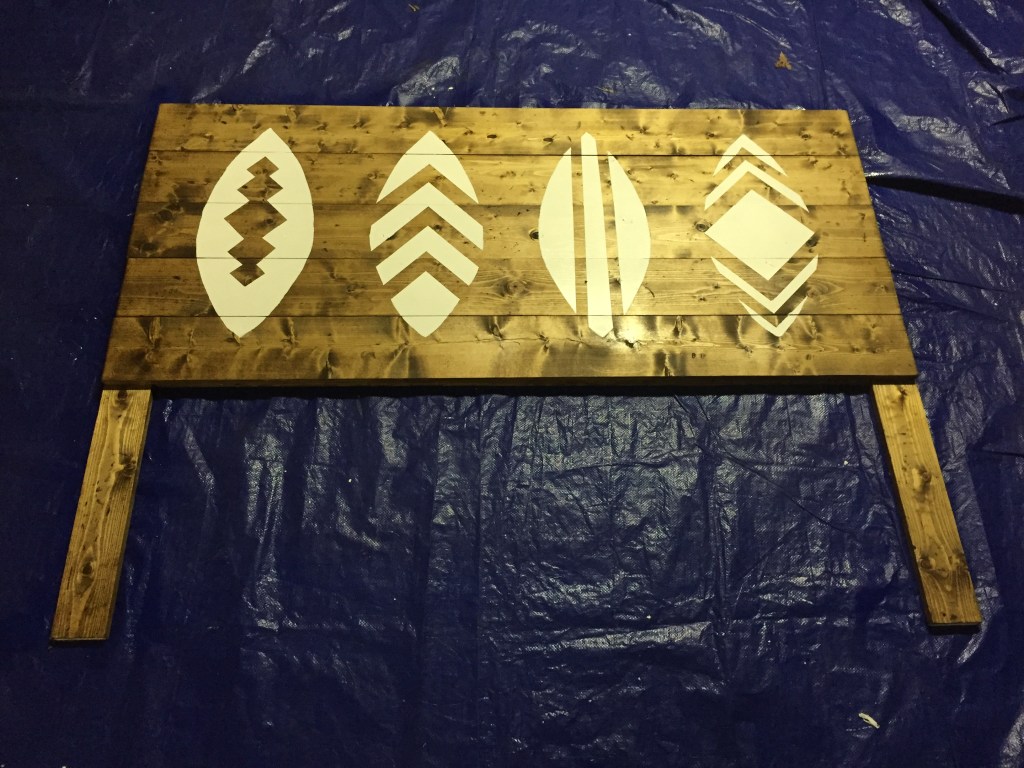
Once the stain is dry, create a template for your surfboards, cutting the shape out of poster board.
Tape the templates on the wood and use painter’s tape to create desired designs.

Paint over the templates using latex paint, being careful to not get paint under the edges of the poster board.
When the paint is tacky, but not fully dry, remove the templates. This ensures that no part of your design sticks to them and is damaged upon removal.
Place the headboard behind your bed frame and mark the holes for attachment.
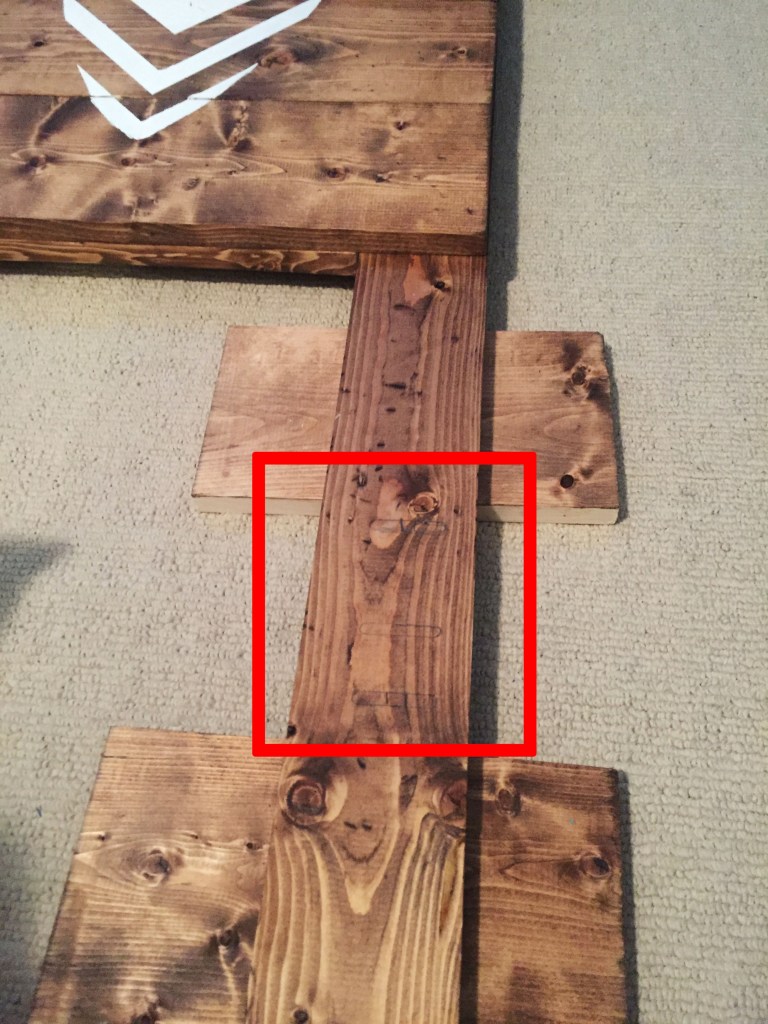
Drill wide enough holes for your bolts to go through. (I placed the legs on spare blocks so I could drill it in the room and not hit the carpet.)
Use bolts, nuts and washers to attach the headboard, tightening with a wrench. I used two bolt/nut/washer sets on each side.
Enjoy!

If you liked this post, pin the graphic below! Sharing is caring. 😉
Links above may be affiliate links, which earn us a commission if you buy something. 😉

This came out so cool. Love the beach theme. I want to do a wooden head board but was just thinking I would add it to the wall like decor. I like your idea better. I have a bunch of pallets to take apart. It is on a list of projects of mine.
LikeLike
Oh cool! I can’t wait to see what you make. I LOVE working with pallets – have a few in the shed waiting for a holiday project. 😉
LikeLiked by 1 person
Greetings! I’ve been reading your website for a while now and finally got the bravery to go ahead and give you a shout out from Kingwood Tx! Just wanted to tell you keep up the fantastic job!
LikeLiked by 1 person
Hello and thank you! So glad you like it.
LikeLike