DIY Furniture
Ikea Hack: How to Transform the Ikea Kallax for $40
There was a time where my ratio of Ikea furniture to non-Ikea furniture was close to 9-1. And there’s a good reason why: furniture is expensive as hell, and when […]
 Just Might DIY
We like to make stuff together.

There was a time where my ratio of Ikea furniture to non-Ikea furniture was close to 9-1. And there’s a good reason why: furniture is expensive as hell, and when […]
There was a time where my ratio of Ikea furniture to non-Ikea furniture was close to 9-1. And there’s a good reason why: furniture is expensive as hell, and when you need to furnish a new apartment or house quickly, every dollar counts.
I started buying Ikea furniture when I moved to Atlanta in 2008. Ten years, two apartments and two houses later, and I’ve slowly reversed that ratio. But there are a few key pieces that I’ve held onto, either because they just work, or because they would be expensive to replace.
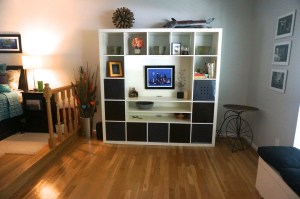
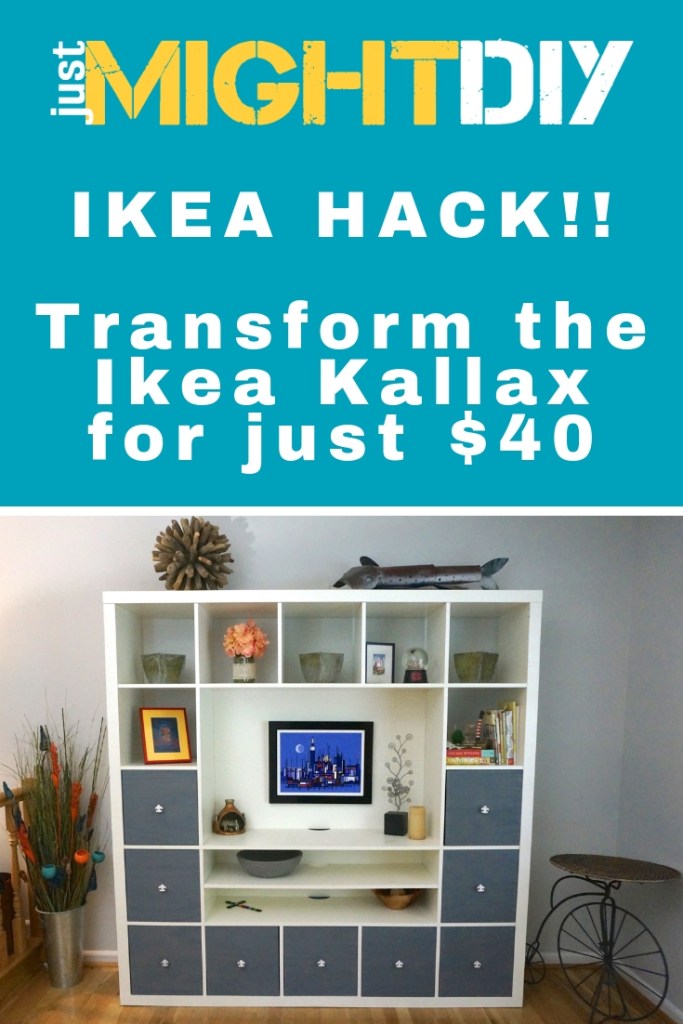
That last reason is why I still have the Kallax media center, which has followed me since that first apartment in Atlanta. While it formerly housed my TV in all of my prior living spaces, it now stands proudly in the sitting area of my master bedroom.
Though I’m still not willing to fork over money to replace the Kallax, I have finally grown tired enough of those plastic drawers to do something about them. Because the master (and actually house in general) is slim on storage space, that piece is currently holding 9 drawers, with the other squares being used as shelves.
To replace those nine with options from Ikea would be either around $120 on the low end for plain white plastic drawers, identical in everything but color to what I have now, all the way up to $225 for the matching inserts with doors.
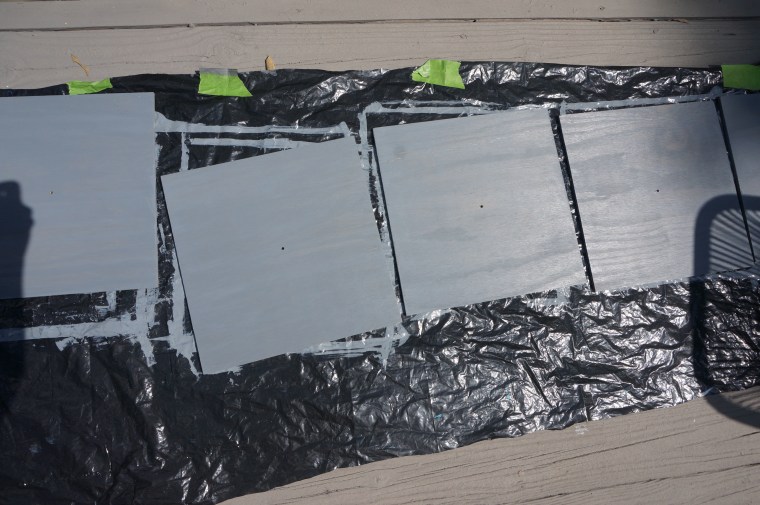
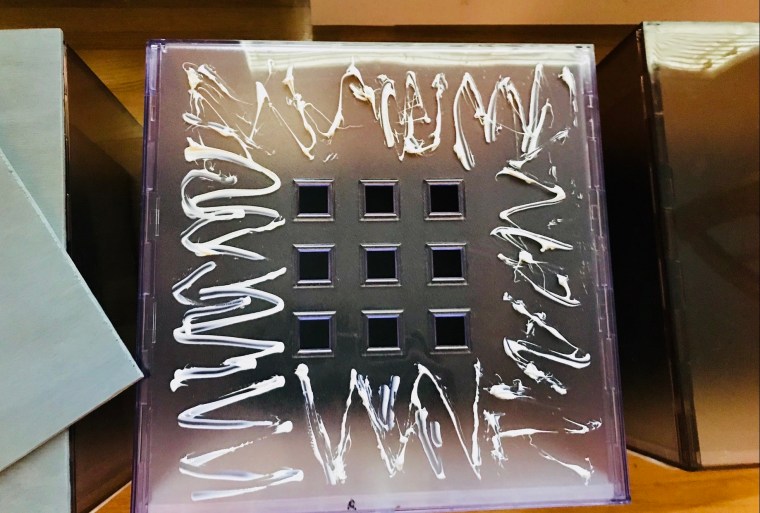
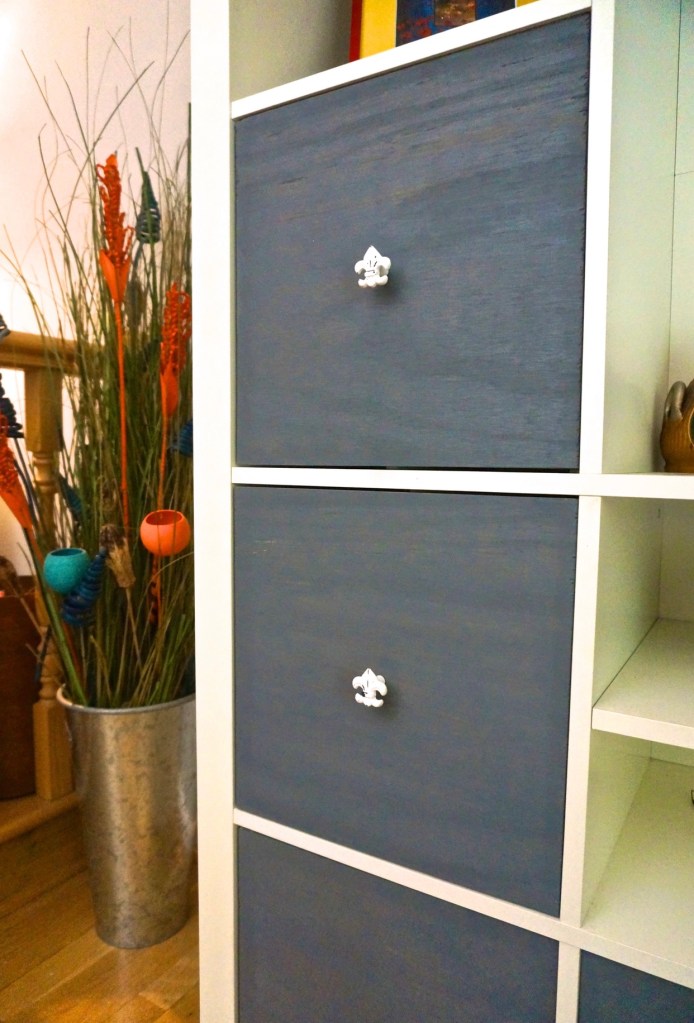
And since this project landed squarely in the “skimp” category of the Master Bedroom Redesign, I had to decide what to do with those drawers. They’re some shade of clear-ish purple, made darker by the black foam board inserts I created long ago because I didn’t like seeing through the drawers.To transform this piece, I opted to front the drawers with grey-stained wood and add drawer pulls to them. The total cost of this project turned out to be just $40, with the breakout below:
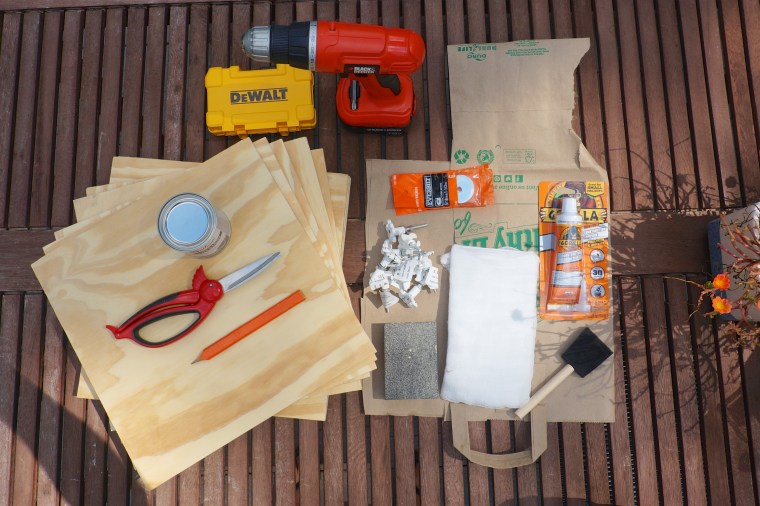
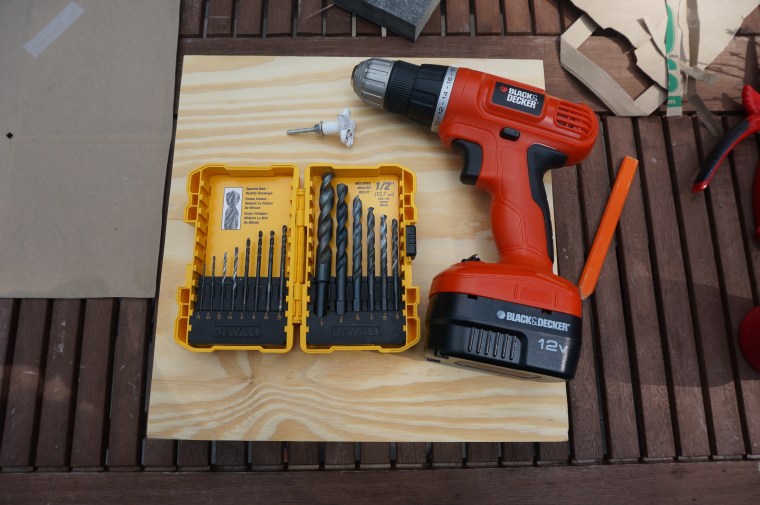
Project Costs (all but drawer pulls purchased at Home Depot): Wood: $9.00, Gorilla Glue: $6.00, Stain: $5.00, Washers: $2.00, 9 Drawer pulls: $18 (Hobby Lobby)
Materials Needed:
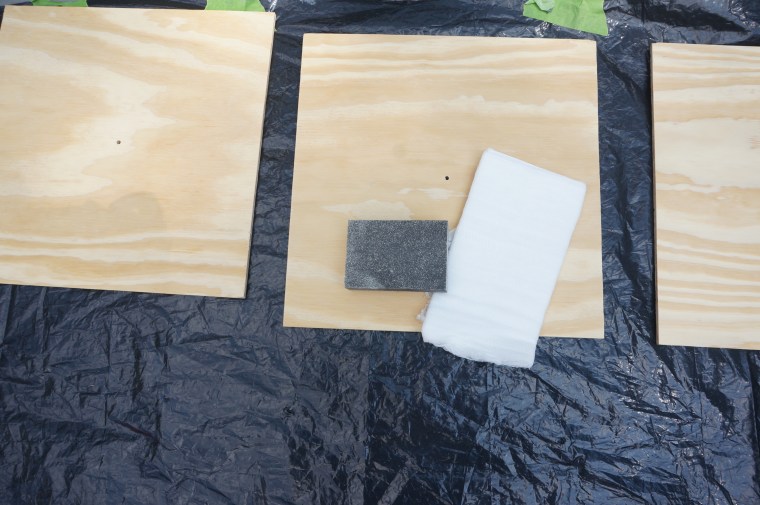
Wood (enough to cover the number of drawers you have)
Sandpaper
Wood Stain
Brush/rag
Drill with bits
Drawer pulls
Washers (large)
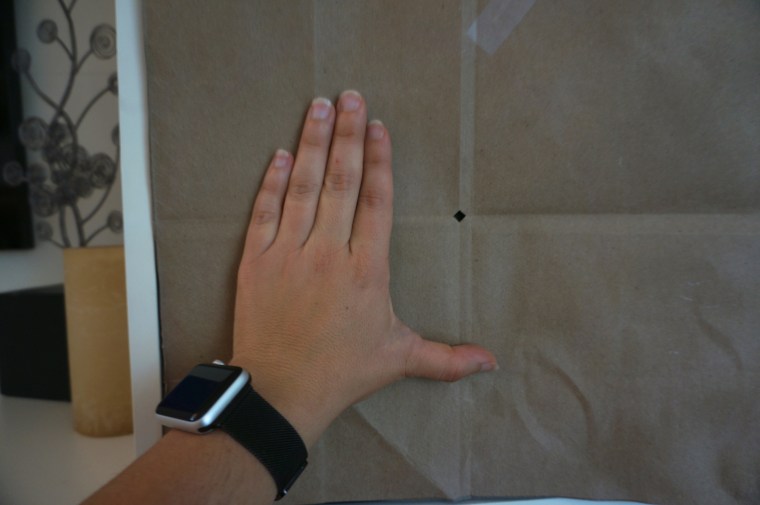
13” x 13” paper for guide
Glue that bonds plastic to wood (check labels)
Pencil
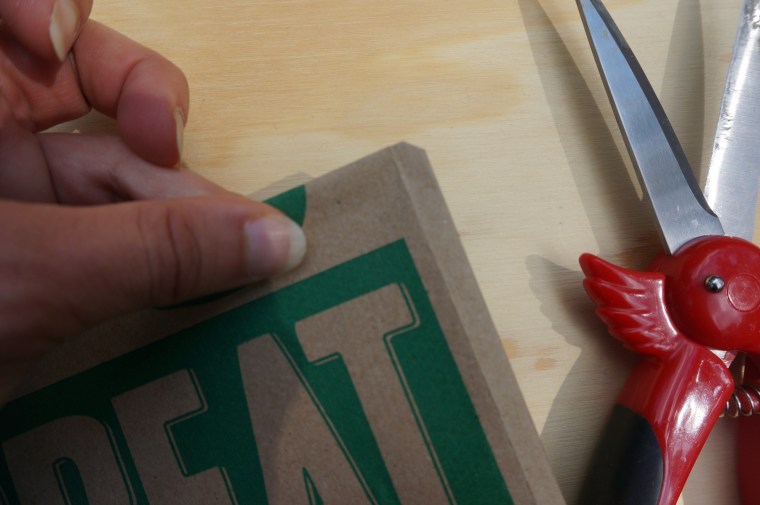
Here’s How I Did It (Picture Tutorial Below):


Love it!!
LikeLike
Thank you! So glad you like it a it was super easy!!
LikeLike
I’m curious to know – How did you get the bigger space in the middle? Was it made like that, or did you remove a few Cubes??? I haven’t seen that design of the Kallax at IKEA? Thanks! Juliana
LikeLike
Hey! It actually came like that. I bought it 10 years ago, so not sure if they still carry that model.
LikeLike
It’s a shame you don’t have a donate button! I’d most certainly donate to this brilliant blog! I guess for now i’ll settle for book-marking and adding your RSS feed to my Google account. I look forward to new updates and will share this site with my Facebook group. Chat soon!
LikeLiked by 1 person
Oh wow – thanks! That means a lot to us.
LikeLike